There is so much variety in the world of hair styling tools that we sometimes need some guidance in order to sort through all of the different gadgets and toys available at our disposal. When it comes to those looking to curl their hair, the overabundance of tool options is even more obvious, as there is no shortage of curling devices on the market today. From curling wands to diffuser attachments to curling pins and ties, you’ll never be at a loss for finding some sort of tool that can help you achieve curls!
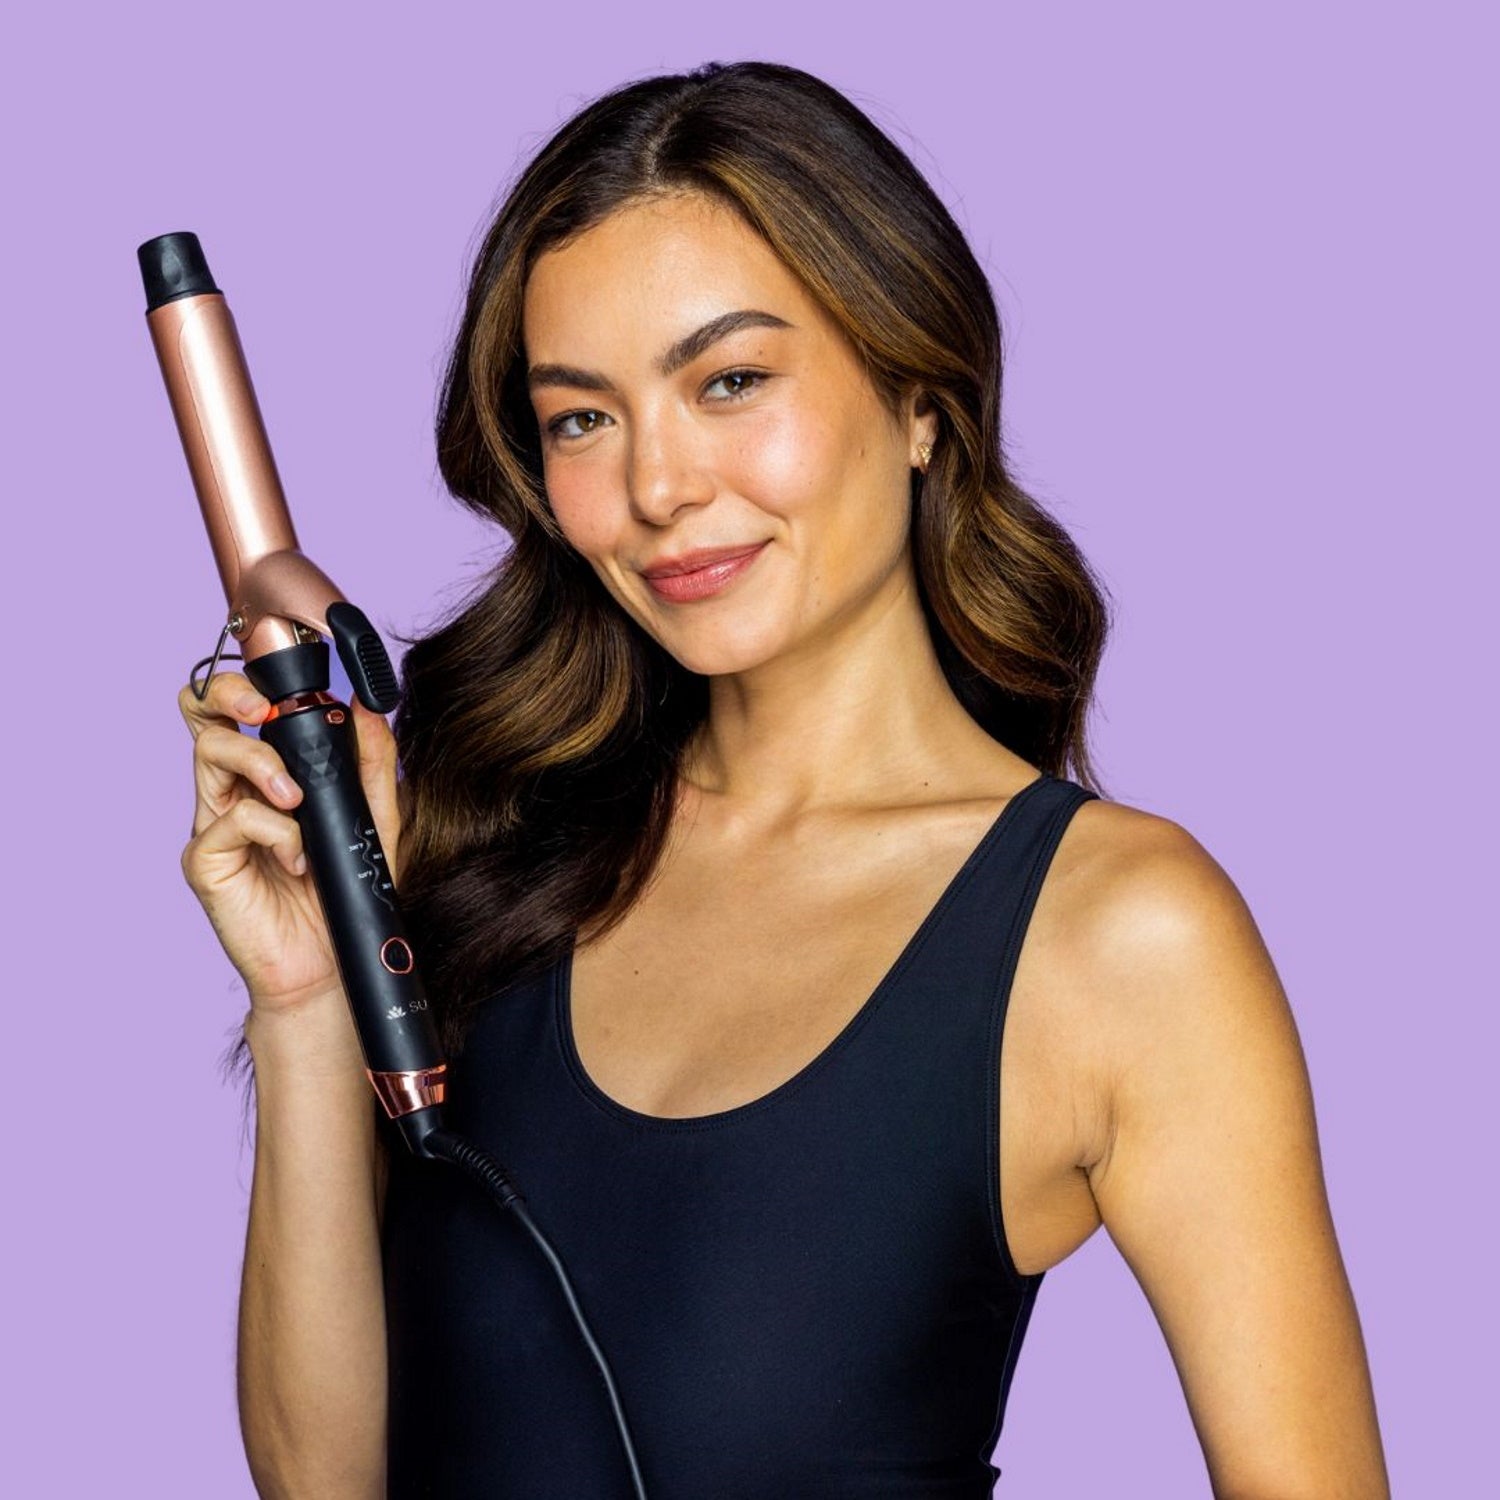
The most popular tool for getting curls, however, is the reliable curling iron. Curling irons, as you can gather from the name, are designed specifically for curling hair, and they do an incredible job at it. While many other curling tools exist on the market such as curling wands, what separates the curling iron apart is the addition of a clamp. This clamp is usually designed with a heat resistant material and holds the hair firmly yet gently in place while styling to ensure efficient head conductivity and proper hair curling. The clamp also serves to provide a safety benefit, as the clamp prevents you from having to hold your other hand close to the hot iron and risk a potential burn. In short, the clamp is one of the most useful product features of any hair styling tool out there!
Because of the unique nature of the clamp design, you may find yourself struggling to get used to how to best use this device. Read below for our step by step guide on how to use a curling iron with a clamp.
Step One: Prepare the hair for styling
Before you begin to style your hair, you’ll want to make sure your hair is untangled and manageable, which means running a brush or comb lightly through your hair. Additionally, make sure your hair is completely dry before styling. For added volume, you may want to quickly run a blow dryer through your hair. Lastly, spray a light amount of heat protectant to prevent dryness and breakage. Once prepared, grab two to three inch sections of your hair and hold in place.
Step Two: Curl and heat style
With your section of hair held in place, bring the curling iron near the root of your hair and slide the section of hair between the iron and your barrel, and then release the clamp gently to secure the hair in place. Then slowly rotate the barrel away from your face one full rotation and hold for a few seconds to seal the curl in place. When finished, open the clamp to release your hair and continue down the rest of the hair section.
Step Three: Putting on the finishing touches
With your hair prepped and curled, you’ll want to make sure everything stays in place. Run your fingers through your hair to release any stray hairs or fly aways and then mist your hair with a light coat of hair spray.
How to Use a Curling Iron with a Clamp